How to Design & Build a Curbless Shower
Author: Thomas Borcherding | Updated On:
What Is a Curbless Shower?
A curbless shower, also known as a walk-in shower or barrier-free, is marked by the key characteristic of no curb found along the perimeter of the shower area. To be classified as a curbless shower there must be no perimeter curb, and no elevation change between the shower entrance and the dry portion of the bathroom floor.
Shower curbs are used to increase the perimeter elevation of the shower, so as to allow a sloped shower base or mortar bed to be installed in the shower area. They also function as water dams, preventing water from leaving the shower stall.
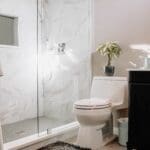
With a curbless shower there is no need for a curb, as the sloped shower bed occurs beneath the floor-level subfloor. Water is retained by the shower glass and downward-sloping edge. A curbless shower is demonstrated in the shower we created for a client below.


How Are Barrier-Free Showers Designed & Installed?
Curbless Shower Design Considerations
The ultimate goal in planning a curbless shower is to fit an up-to-code sloped shower pan into the shower area. International building code calls for a 1/4” slope per foot.
Take for instance the standard shower size, 60”x30”. Using Schluter-KERDI-T, we can see that we will have to accommodate a shower pan that has a height of 1-1/8”. We achieve this by dropping the plywood subfloor between the floor joists.
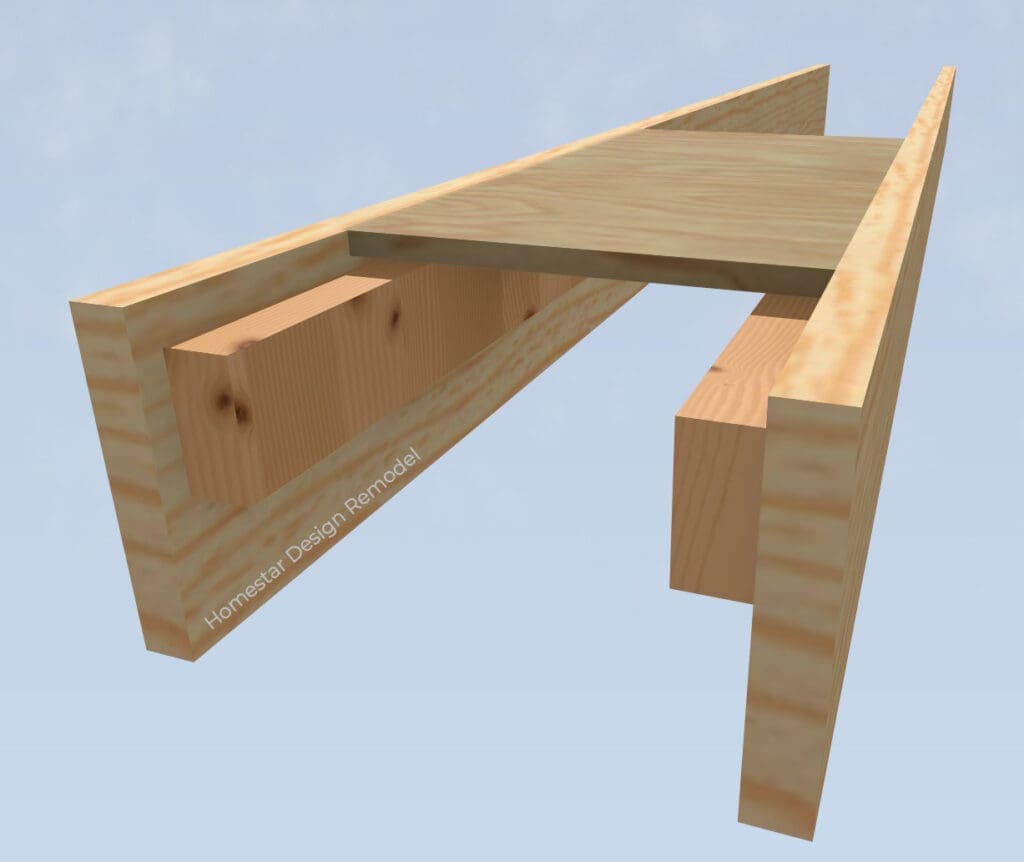
Dropping the Subfloor
The most prominent step in creating a curbless shower is to remove the existing plywood subfloor, and add blocking in-between the floor joists for your subfloor to sit on. Your new subfloor will not sit on your floor joists, it will sit on 2×4 or 2×6 blocking secured to the sides of your floor joists.
Not all bathrooms are eligible for a curbless shower that is up to building code due to the fact that the building code slope cannot be achieved in some scenarios (such as when a large shower area is desired). This is why it is best to work with a demonstrated remodeling professional when a curbless shower is desired.
By removing your floor register vent in your bathroom, you will be able to see your floor’s plywood, and thus be able to tell how thick your plywood is. You will then be able to tell how much depth you will gain by dropping the subfloor. This is one of the first things that I do when taking measurements in bathrooms.
For instance, if your plywood subfloor is 3/4” thick, then you will gain only 0.75” of the 1.125” needed for the shower pan example above.
Making Room For the Sloped Shower Pan
As we just demonstrated, dropping the subfloor is not enough in most cases. In order to meet the height requirements for a shower pan, you will likely have to either a) notch your floor joists, or b) build up the rest of the bathroom floor.
When notching your floor joists, strict attention must be paid to joist-notching building code. Said building code was developed by structural engineers in order to prevent the structural integrity of your home from being compromised. Notching your floor joists, when applicable, and when used in conjunction with subfloor dropping, will provide the height needed for an up-to-code sloped shower pan.
If you are unable, or justifiably so unwilling, to notch your floor joists, you may opt to build up the rest of your bathroom floor. By utilizing an uncoupling membrane, such as the Schluter-DITRA found here, you can increase the height of the dry portion of your bathroom floor. Doing so may provide you with the clearance that you need to install a curbless shower pan.
What If Subfloor Dropping and Build-Up Isn’t Enough?
If dropping your subfloor AND building up the rest of the bathroom with an uncoupling membrane doesn’t provide you with the clearance you need for a shower pan, you may wish to have a dry pack shower base custom-poured by a professional tiler.
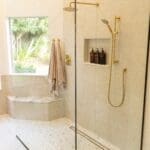
It may be hard to find a pre-fabricated shower pan that will fit with all dimensions considered. The alternative, and traditional method, is to pour a dry pack shower pan. Doing so can allow you to achieve your curbless shower dreams, and is demonstrated below.
I commonly hire a professional tiler for a lot of our curbless showers. Doing so allows us to design outside of the restrictions of prefabricated shower pans.

It’s Getting Late, Let’s Conclude
We explained, and showed, how a curbless shower’s subfloor is dropped in-between floor joists. Doing so allows you to place a sloped shower pan into the area, so that water can drain properly. Dropping your subfloor between the floor joists typically isn’t enough. You will also have to either notch your floor joists and/or build up the rest of the bathroom floor.
We covered the basic math and dimensions used in designing a curbless shower, which may have convinced you to let a professional bathroom designer handle your project. If that’s the case, and you reside in St. Louis, we strongly encourage you to reach out to us! We wish you the best of luck with your remodeling project.
Useful Definitions
Curbless Shower: A shower area featuring zero initial elevation change between the dry and wet portions of the bathroom floor. A curbless shower will have no perimeter curb, and the sloped shower pan will be flush with the dry bathroom floor prior to tile install. Synonymous with barrier-free showers and walk-in showers.
Notching: To remove a portion of something, typically in the pattern of a rectangle. In the context of floor joists, this means to take a rectangular chunk of wood out of the floor joist in order to accommodate another object (such as a shower pan).
Shower Pan: A waterproof, sloped object added to the bathroom floor in order to allow correct water drainage.
Shower Curb: A built-up portion of the bathroom floor using 2x4s or waterproofing membrane, which will receive a tile application. Its purpose is to allow a sloped shower pan to be dropped into the inside area of the curbed perimeter, as well as to retain water.
Shower Slope: The change in elevation that allows for correct drainage of waste water. International building code calls for a slope of 1/4″ per foot.
Subfloor: The layer of building material, typically plywood, that sits between the floor joists of your home and the finished flooring.
Uncoupling Membrane: An engineered layer of material that is installed on top of the subfloor. An uncoupling membrane is engineered so as to remove the stress of movement from tile, which acts to prevent cracks either within the grout lines or in the tile itself. An uncoupling membrane can also be used to increase the floor’s elevation due to its added height that it gives the floor. They are typically waterproof.
About the Author

Thomas Borcherding is a professional kitchen & bath designer, and a member of the National Kitchen & Bath Association (NKBA). He is the second-generation owner of Homestar Design Remodel, and takes great joy in providing those in St. Louis with high-quality, affordable home remodeling.
- Can You Put a Shower Head on an Exterior Wall?
- Grab Bar Installation Guide: Do Grab Bars Require Blocking?
- Are Fernco No-Hub Couplings Allowed in St. Louis County?
- St. Louis Kitchen Remodeling Cost (2024)
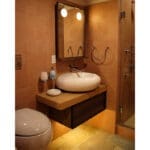
- St. Louis Bathroom Remodeling Cost (2024)
- How Tall Should a Shower Curb Be? Shower Curb Height FAQs